A Step-by-Step Guide to Bringing Stone Back to Life
Natural stone floors like marble, granite, travertine, and limestone can add timeless elegance and durability to any space. But even the most beautiful floors will lose their luster over time due to foot traffic, spills, and environmental wear. Restoring stone flooring isn’t just about aesthetics—it’s about protecting your investment and prolonging the life of the material.
At A&D Floor Restoration, we specialize in professional stone floor care across the East Bay Area, using industry-leading tools and techniques to bring tired stone surfaces back to their original beauty.
Step 1: Inspect and Assess
The first step in restoring a stone floor is a careful inspection. We evaluate everything from surface wear and scratches to grout integrity and stains. Over time, many floors develop cloudy patches, visible etching, or hairline cracks—especially if the stone hasn’t been sealed properly. This step is critical for identifying the right restoration process for your specific material, whether it’s a honed travertine or a polished granite surface.
Our team at A&D Floor Restoration always starts with a personalized consultation to diagnose your floor’s needs and explain the restoration options clearly before we begin.
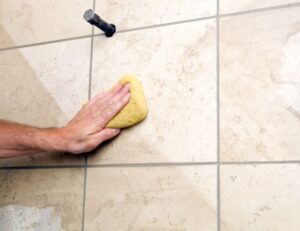
Step 2: Deep Cleaning and Grout Prep
Once the condition is assessed, the floor undergoes a deep cleaning process. This removes any embedded dirt, grime, old sealants, and residues that can interfere with the restoration work. We use specialized stone-safe products and gentle equipment to ensure a thorough clean without damaging the stone itself.
We also repair or replace damaged grout lines. Crumbling or stained grout can detract from the appearance of even the most high-end stone, so restoring grout is key to achieving that like-new look.
Step 3: Honing and Polishing
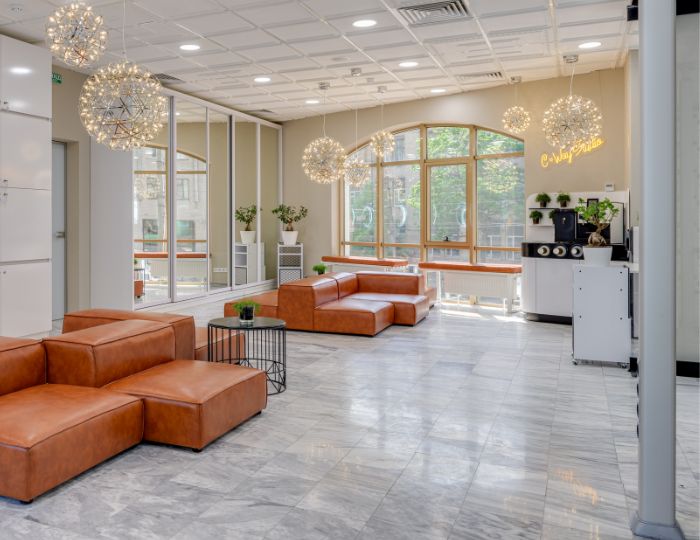
Depending on the damage, the next step may involve honing—a process that uses fine abrasives to smooth the surface and eliminate scratches, etches, or uneven finishes. After honing, we polish the floor to your desired level of shine, whether that’s a glossy showroom finish or a more natural matte appearance.
The result is a rejuvenated surface that reflects light beautifully and looks as good as the day it was installed. This process not only restores shine but also corrects imperfections that can trap dirt or moisture.
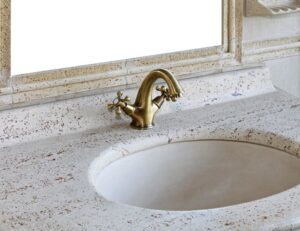
Step 4: Seal and Protect
Once the floor is clean and polished, sealing it is essential for long-term durability. A properly sealed stone floor resists stains, moisture, and wear while enhancing the natural color of the stone. We apply high-quality penetrating or enhancing sealers tailored to your stone type and use case—whether it’s a high-traffic entryway or a kitchen floor prone to spills.
Sealing protects all the restoration work done so far and makes regular maintenance much easier, helping your floors stay beautiful with minimal effort.
Step 5: Maintain the Results
Restored stone floors are relatively low-maintenance, but a few simple practices can make a big difference. Using pH-neutral cleaners, avoiding abrasive scrubbers, and placing area rugs in high-traffic zones all help preserve your floor’s finish. For best results, schedule periodic professional cleanings to catch any minor issues before they become major problems.
Don’t Let Your Stone Floor Dull Over Time
Whether your floors are scratched, stained, or just looking tired, professional stone restoration is a smart investment. At A&D Floor Restoration, we deliver expert-level craftsmanship and personal service throughout Brentwood, Concord, Fairfield, Danville, and beyond.
Call us today or request a free quote online and let us bring the brilliance back to your stone floors—quickly, affordably, and professionally.